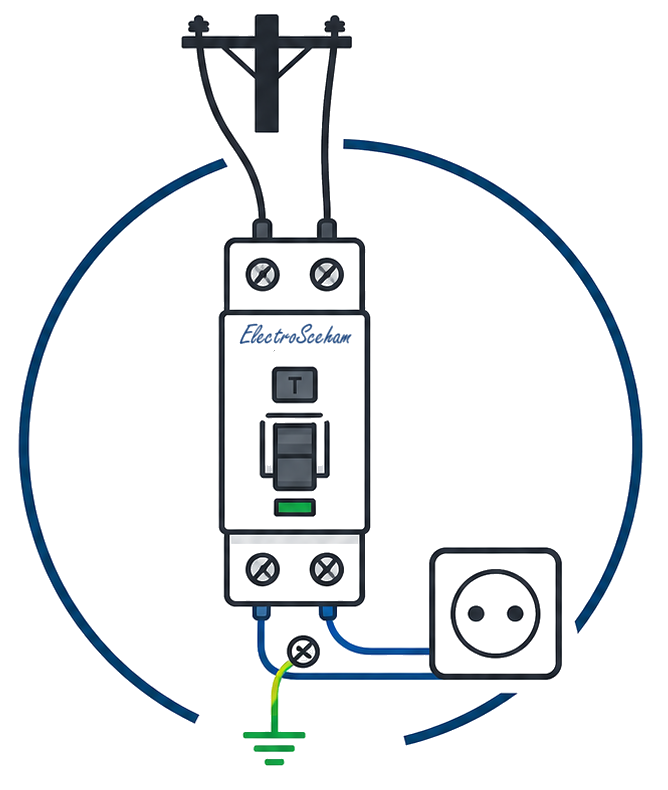
The three diagrams: multi-line, single-line, developed
One circuit, three drawings. See where each of them comes from in what you drew on the plan, then recognise them, complete them and draw them yourself — the app tells you whether it holds up.
One circuit, four views
Pick a circuit and step through the tabs. The drawing changes every time; the circuit never does.
Circuit
This is where you actually work: the room, the devices on the walls, the junction box and the cable routes. Everything that follows is read from here — nothing is invented along the way.
Three facts, three diagrams
Everything you see in the tabs comes out of three things you write into the plan. Nothing else.
Which protective device feeds it
A circuit starts at the breaker. A cable that hangs off no protective device belongs to no circuit — and then it appears in no diagram. That is the first thing to check when a diagram comes out empty.
Used by: multi-line · single-line · developed
Where it runs and with which conductors
The junction box you pass through and the conductors you carry in each cable. This is where the drops from the bars, the links between devices and the wire count on the single-line come from. The route and the box stay in the multi-line and the single-line; the conductors show up in all three — the developed diagram draws the neutral and the protective conductor only if the load really has them.
Used by: multi-line · single-line · developed (conductors only)
What controls what
The association between the luminaire and the device that switches it. The wires do not say this by themselves: a two-conductor cable between the box and the wall looks identical whether the light is controlled from there or not.
Used by: developed
And the 3D model?
It does not produce a fourth diagram. It adds heights and real routes, and from those come the cable lengths — so voltage drop and the bill of materials. The diagrams stay the same three, because they start from the same three facts. Going 3D changes how much cable you buy, not what you draw.
From the floor plan to the three diagrams
What each diagram keeps, what it leaves out, and why these are not three drawings but three readings.
Not three drawings — three questions
The first time you see the three diagrams side by side it looks as though you have to draw the same circuit three times. You do not. You have one circuit and three questions asked about it: which wire connects to what (multi-line), where it runs and with what cross-section (single-line), what controls what (developed). Each diagram answers one and stays silent on the other two — which is why none of them replaces the rest, and why a diagram that comes out wrong means the fact in the plan is wrong, not the drawing.
The five steps between the plan and the diagram
Cables are grouped by circuit
Each cable’s conductors are resolved
The junction boxes are wired
The tree is built from the protective device
It is projected in three ways
What each one keeps
| Diagram | What it shows | What it leaves out | When you use it | The common mistake |
|---|---|---|---|---|
| Multi-line diagram | Every single conductor and the box terminal it lands on. | Room proportions and real lengths. | When you are actually wiring the box, and when you check existing work. | You draw it the way it ought to be, not the way you wired it. Then it is good for nothing. |
| Single-line diagram | The structure of the circuit, the number of conductors and the cross-section. | Which wire goes into which terminal. | For sizing, for the quotation, and in the conversation with the checker. | You put the conductor count you remember on the line, not the one from the cable you actually ran. |
| Developed diagram | The function: which contact controls which load, between line and neutral. | The physical route and the boxes. | At commissioning, and when you are chasing a functional fault. | You draw the contact in the neutral — fine on paper, but in the installation the lamp stays live. |
What the standard says
Diagrams are not paperwork for the file: they are required at the initial verification, and two of the rules you check on them can be read straight off the drawing. The quotations below are kept verbatim in Romanian — translating them would break the fidelity of the citation.
I7-2011, Art. 8.1.1.2.3 letter i)
„existența schemelor, inscripțiilor de avertizare sau a altor informații similare”
„The presence of diagrams, warning notices or other similar information" — it sits in the list of checks made by inspection, before the installation is energised. Without diagrams, the inspection has nowhere to start.
I7-2011, Art. 8.1.1.2.3 letter h)
„întreruptoarele de pe circuitele de iluminat trebuie să fie montate pe conductoarele de fază”
„Switches on lighting circuits must be fitted in the line conductors." You read this off the developed diagram at a glance: the contact sits on the line vertical, not on the neutral return. If it is in the neutral, the lamp stays live with the switch off — which you find out while changing a bulb, not while turning it on.
I7-2011, Art. 5.4.8
„Prizele cu tensiunea de 230 V vor fi prevăzute cu contact de protecție.”
„Socket-outlets rated 230 V shall be provided with an earthing contact." The contact also has to be connected, not merely present. On the multi-line diagram it shows up as a third, green drop; on the single-line, as a third conductor on the route.
I7-2011, Art. 5.1.4.3.1
„conductor de protecție (PE); marcarea se face prin culori verde/galben și această combinație nu trebuie folosită pentru nici o altă utilizare; […] conductor neutru (N) sau de punct median; marcarea cu culoarea bleu se face pe toată lungimea.”
Green-and-yellow for the protective conductor, reserved for that use alone; blue along its whole length for the neutral. This is where the diagram colours come from. The switched line has no colour imposed by the standard — in this app it is drawn orange, so you can tell it apart from the line conductor.
I7-2011, Art. 5.4.1 and 5.4.2
„Circuitele iluminatului normal trebuie să fie distincte de circuitele de prize. […] Se admit doze comune pentru circuitele de iluminat normal, de prize, de comandă și de semnalizare, dacă circuitele respective funcționează la aceeași tensiune.”
Lighting circuits must be separate from socket-outlet circuits, but shared junction boxes are allowed for lighting, socket-outlet, control and signalling circuits operating at the same voltage. The nuance matters when reading a multi-line diagram: a box carrying two circuits is not a mistake — a box where they get mixed together is.
Four things that break a diagram, in order of frequency
- The cable has no protective device assigned. It shows up nowhere, and the diagram looks half empty without a single error message.
- The lamp is connected straight to the line and the switch sits on a dead branch. The installation works „in the sense that the light is on", and stays like that until handover.
- The link between socket-outlets carries only line and neutral. The second outlet looks identical to the first, but its earthing contact is connected to nothing.
- The lamp-to-switch association is missing from the plan. The multi-line and single-line diagrams come out right, the developed one comes out with no contact — and only then do you realise the fact was never written down.
Pick the right diagram
You are given the circuit. One by one, you find the drawing that matches it: multi-line, single-line, developed.
Light with a one-way switch
A ceiling luminaire switched from beside the door. 10 A type C protection, 1.5 mm² cable.
The circuit
Step 1 of 3
Which drawing is the MULTI-LINE diagram of this circuit?
Two socket-outlets on one circuit
Two outlets along the long wall, the second fed by a link from the first. 16 A type C protection, 2.5 mm² cable.
The circuit
Step 1 of 3
Which drawing is the MULTI-LINE diagram of this circuit?
Control from two places
A hallway light switched from both ends with two two-way switches. 10 A protection, 1.5 mm² cable.
The circuit
Step 1 of 3
Which drawing is the MULTI-LINE diagram of this circuit?
Control from three places
The same lamp, switched from three places: two-way switches at the ends and an intermediate switch in the middle.
The circuit
Step 1 of 3
Which drawing is the MULTI-LINE diagram of this circuit?
Complete all three diagrams
The plan is incomplete. Every correct answer adds the missing fact — and you see it land in all three diagrams at once.
Light with a one-way switch
The plan is only half drawn. Fill in the missing facts and watch the diagrams close up.
0 of 4 filled in
Gap a · The gap shows up most clearly in: Multi-line diagram
What does the box bring to the common terminal of the switch?
Two socket-outlets on one circuit
The outlets are on the plan, but the cables are incomplete. Fill them in.
0 of 3 filled in
Gap a · The gap shows up most clearly in: Multi-line diagram
Which conductors does the cable from the box to the first outlet carry?
Control from two places
The two-way chain is only partly drawn. Fill in the missing facts.
0 of 4 filled in
Gap a · The gap shows up most clearly in: Multi-line diagram
What does the first two-way switch receive from the box?
Draw the diagram yourself
You have the devices and the supply arriving from the board. You make the connections, the app gives the verdict.
Light with a one-way switch
Inside the box you have the supply from the board: line, neutral and protective conductor. Wire up the switch and the luminaire.
Pick a terminal, then another — a wire appears between them. Clicking a wire deletes it.
See one correct solution
The line goes into the common terminal of the switch; the switched line leaves its output towards the lamp. Neutral and protective conductor go straight to the luminaire, without passing through the device.
One of the correct arrangements (others that are electrically equivalent are just as good):
Two socket-outlets on one circuit
Wire up both outlets. You can feed the second from the first by a link, or straight from the box — electrically it is the same thing, and the verdict accepts both.
Pick a terminal, then another — a wire appears between them. Clicking a wire deletes it.
See one correct solution
Each outlet needs all three: line, neutral and earthing contact. The earthing contact of the second one is what gets forgotten most often.
One of the correct arrangements (others that are electrically equivalent are just as good):
Control from two places
Wire up the two two-way switches and the luminaire.
Pick a terminal, then another — a wire appears between them. Clicking a wire deletes it.
See one correct solution
Line onto the common terminal of the first device, the two strappers between the terminals (you may cross them — that only changes which switch position lights the lamp), common terminal of the second device to the lamp.
One of the correct arrangements (others that are electrically equivalent are just as good):
In the app
ElectroSchema generates all three diagrams straight from the project floor plan and exports them to PDF with a title block. Everything you practised here — grouping by circuit, the conductors of each cable, the lamp-to-switch association — is exactly the set of facts the editor asks you for.
Open a projectDiscussion
Comments are moderated before publication. Your email is not displayed publicly.